After posting so many beaded toroids, I will describe briefly the procedure to make a D
5h T240 b.
Of course, there are many different ways to reach a particular toroid. Among many different ways of weaving, I find it most convenient to separate the whole process into two phases. The first phase is to construct the inner rim with suitable arrangement of heptagons. Then after the inner rim is finished, we can start to weave the outer rim, which is the second phase of whole procedure. The details of weaving can vary each time, though.
Phase one: the weaving of the inner rim
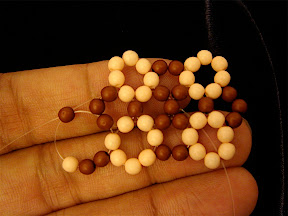
a. Note that in order to make a D
5h toroids, I have to put heptagons in the eclipse position.
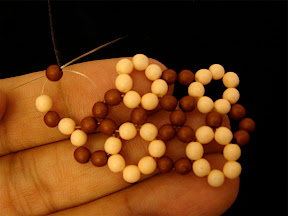
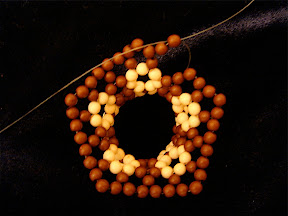
b. Repeat the previous steps to get the whole ribbon of inner rim. There are ten heptagons in total.
c. Connect two sides of ribbon to finish the inner-rim structure.
Phase two: the weaving of the outer-rim
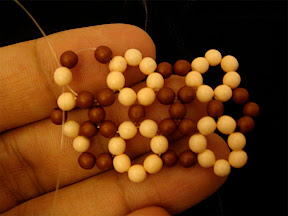
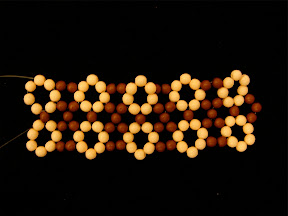
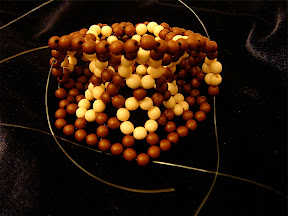
a. Extend the inner rim by one more strip of hexagons for both the upper and lower branches. Note that the pattern of large pentagons formed on both branches.
b. Connect the upper and lower branches gradually.
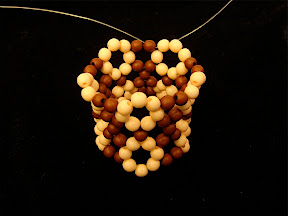
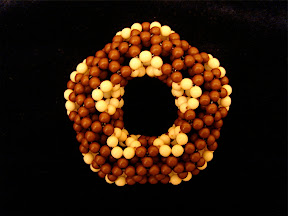
c. Finish up the whole toroid.
You are a genious !
ReplyDeleteThank for your compliment. I am just an ordinary people. I did spend a lot of time on this subject. Chern also did a lot of works on bead models too.
ReplyDelete